
Build and organize a Digital Menu
Use Sections and optional Subsections to organize the products customers browse on your Digital Menu.
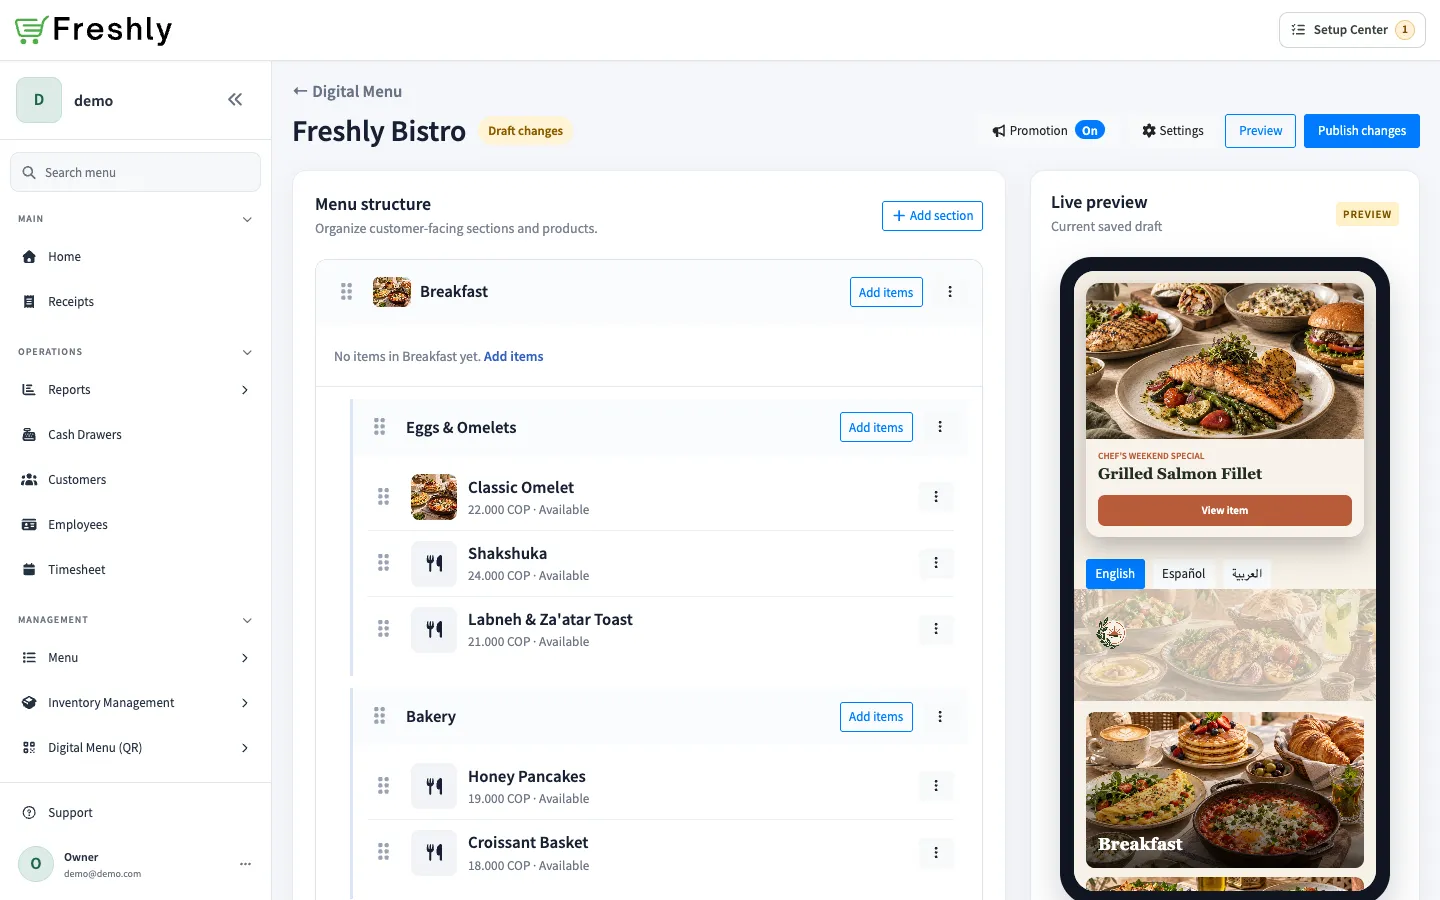
Add the menu structure
Section titled “Add the menu structure”- In Back Office, go to Digital Menu (QR) → Menus.
- Find the menu and select Open builder.
- Select Add section, enter the Section name in the enabled languages, and select Save section.
- To group products inside a Section, open its actions and select Add subsection.
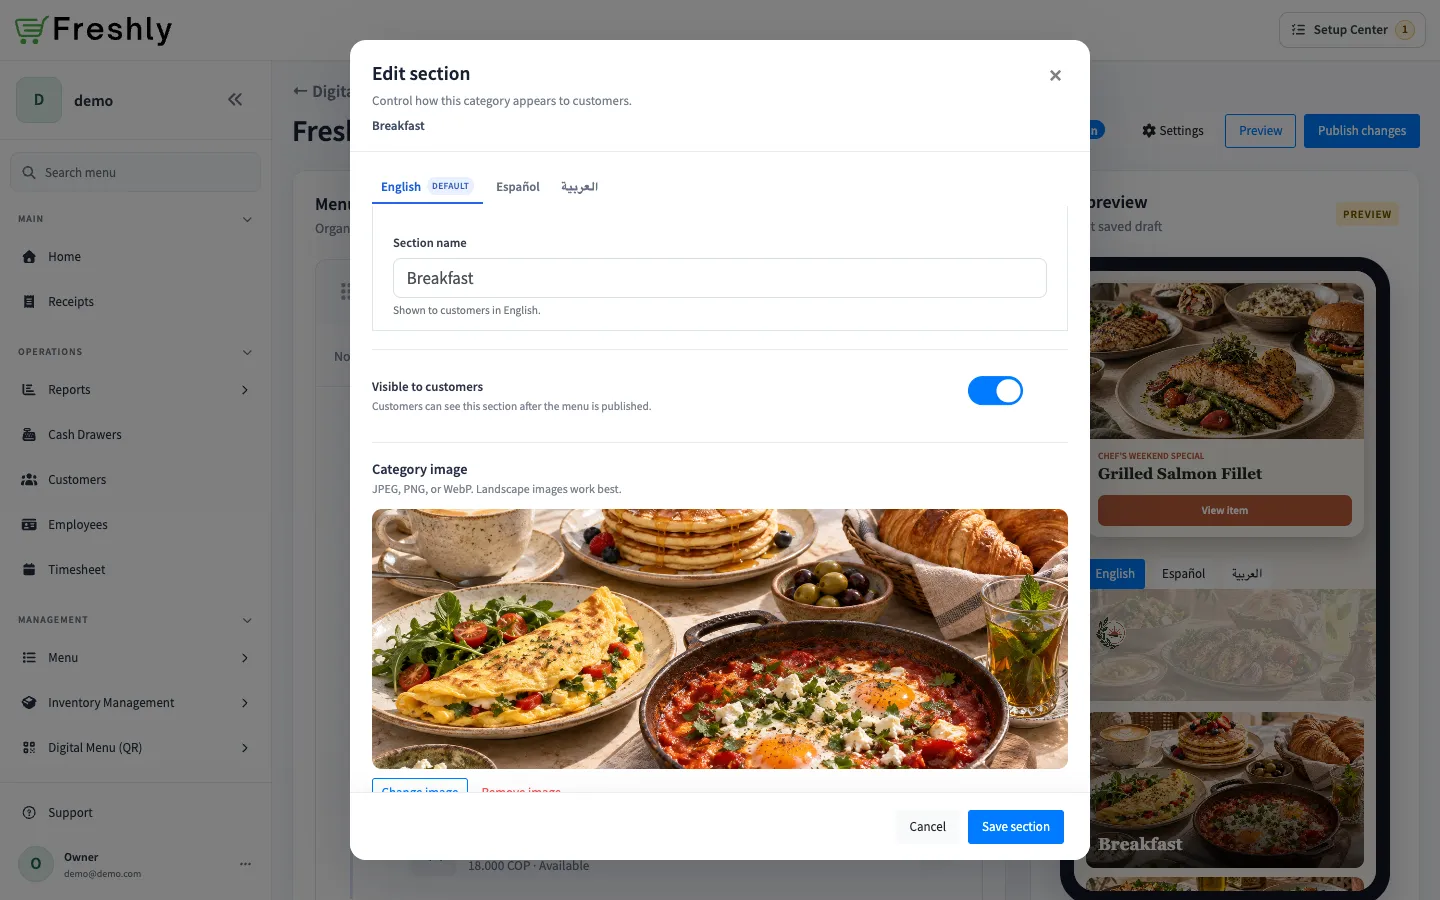
- To add a category image to a root Section, edit the Section and use Category image. The image appears on the customer-facing category landing page.
Add products
Section titled “Add products”- In the target Section or Subsection, select Add items.
- Search the POS catalog and select one or more products.
- Select Add selected items.
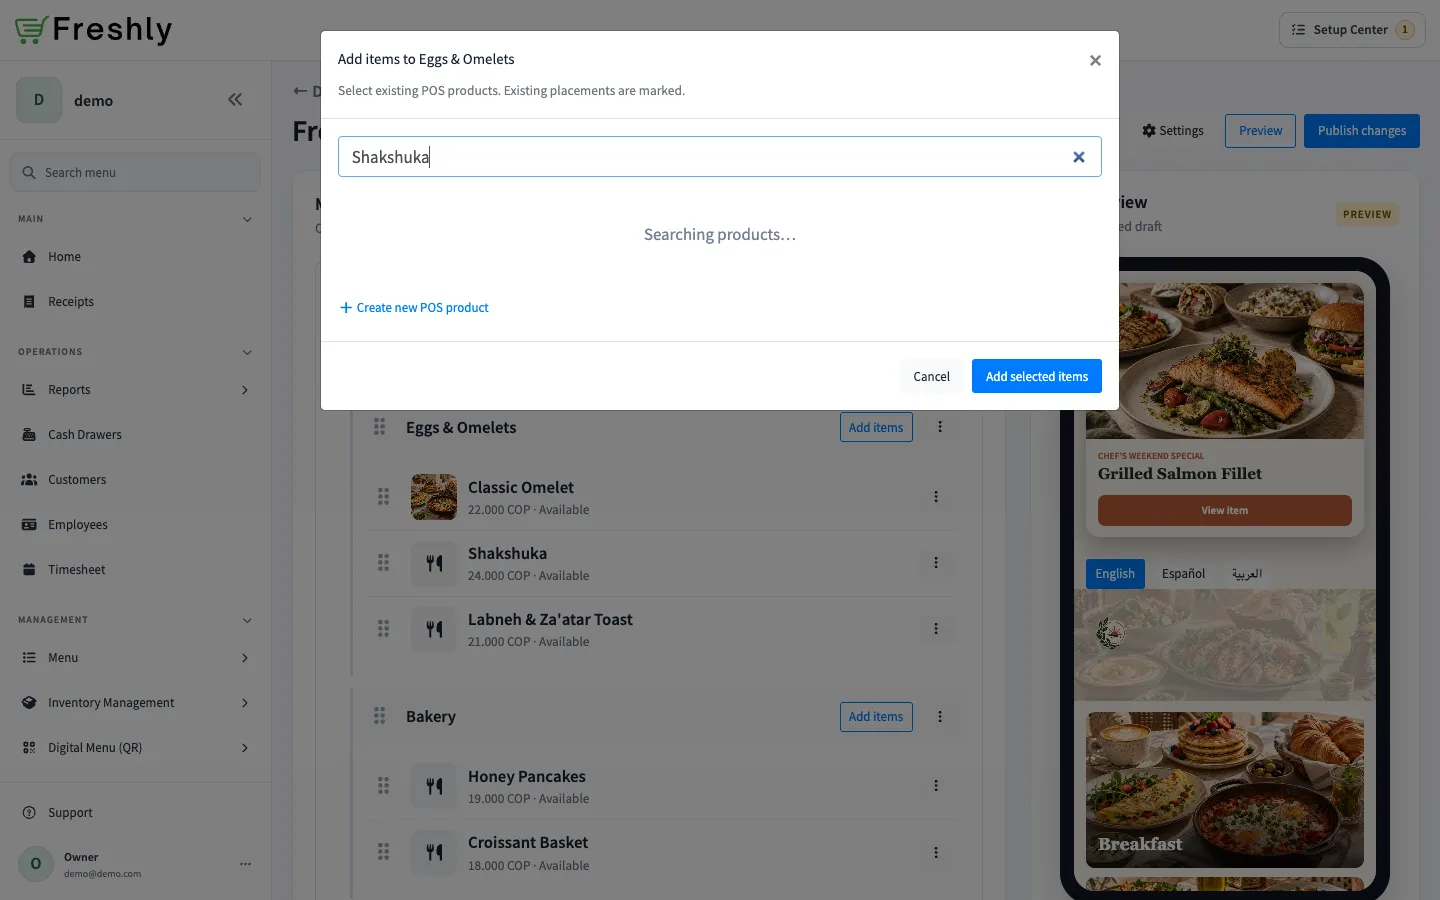
To create a catalog product without leaving the Builder, select Create new POS product, enter its name and price, and select Create and add. This creates a normal FreshlyCart product and places it on this menu. For complete catalog setup, see Create a product.
Arrange visibility and order
Section titled “Arrange visibility and order”- Drag Sections or products to reorder them. The action menu also provides Move up and Move down.
- Edit a Section to change Visible to customers.
- Use Edit presentation to change a product’s menu visibility.
- Use Add image, Change image, or Remove image to manage a root Section image.
Saved Builder changes remain private until you publish them.