Customize Digital Menu settings
Use Menu settings to control the customer-facing design and availability of one Digital Menu.
Configure the menu
Section titled “Configure the menu”- Open the menu in the Menu Builder.
- Select Settings.
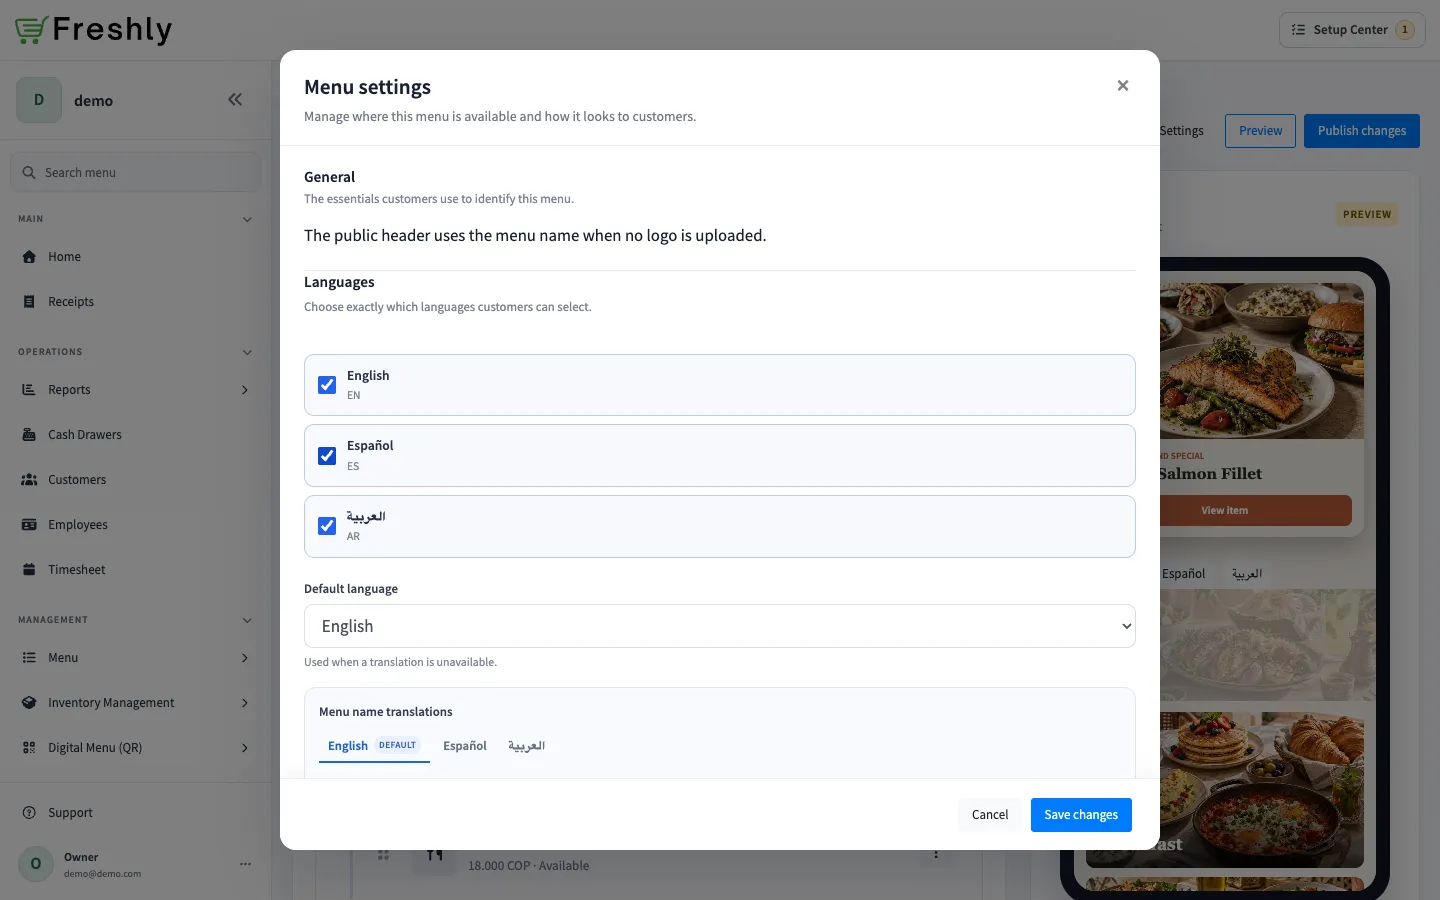
- Under Languages, select English, Spanish, Arabic, or any combination. At least one language must remain selected.
- Choose a Default language from the enabled languages. It is shown first and is used when a translation is unavailable.
- Enter the translated menu name for each enabled language. Previously saved translations remain stored if you later disable a language.
- Under Item display, choose one layout:
- List shows compact rows for menus with many products or longer descriptions.
- Cards shows a photo-focused grid.
- Under Locations, select where customers can use this menu.
- Under Appearance, choose the background, text, and accent colors.
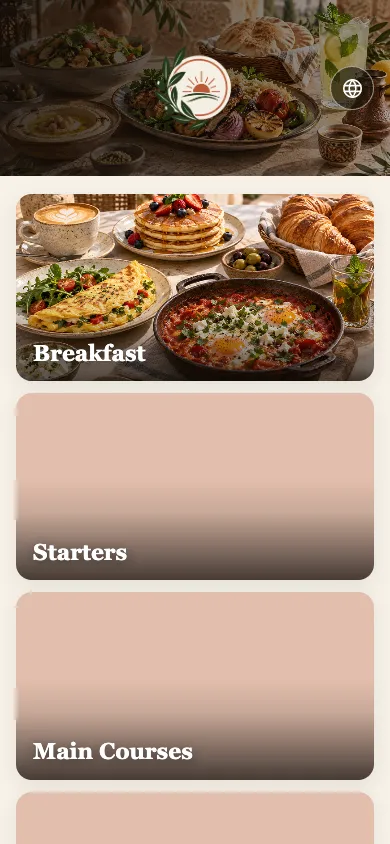
- Add a Logo and Cover image if needed. If there is no logo, the public header uses the menu name.
- Select Save changes.
The List or Cards choice applies to every product in the menu; individual Sections cannot choose a different layout. Any supported language combination can be used regardless of the merchant’s country. The public Arabic menu uses a right-to-left layout.
Settings are saved to the draft and become public only after you publish the menu.